Cinematic Prompts

Exclusive for Clone Creator Live attendees

Cinematic
Prompts
Playbook

Your copy-and-paste system for creating cinematic AI content with stronger character consistency, branded environments, and production-ready Seedance 2.5 prompts.
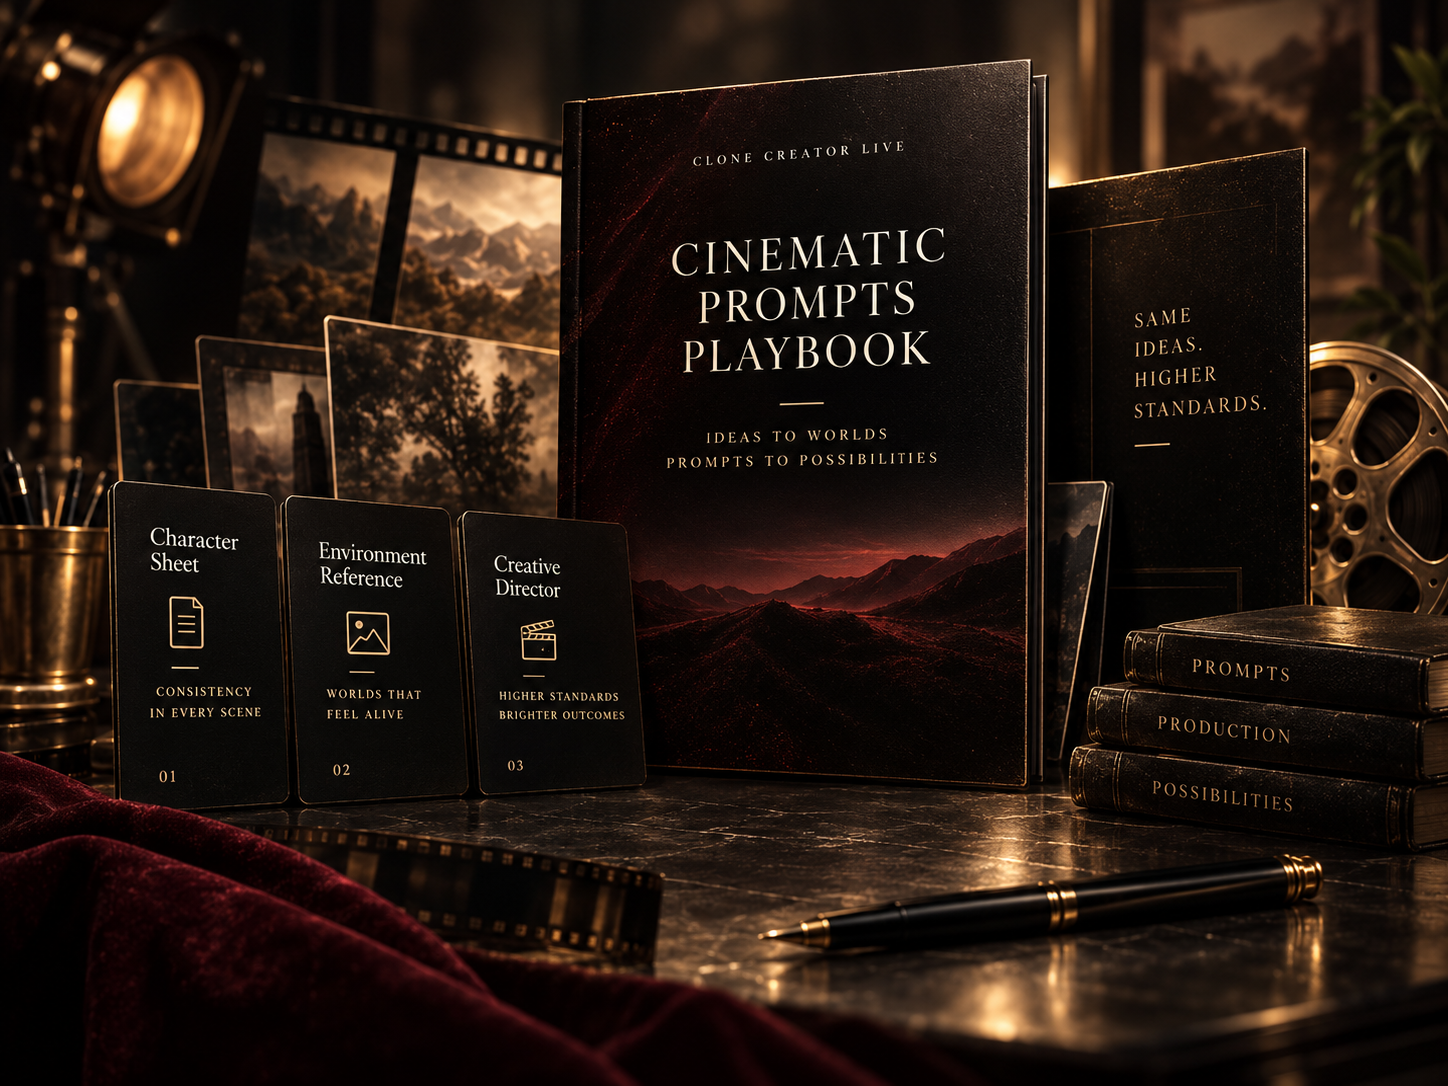
Same ideas. Higher standards.
Cinematic Prompts Playbook studio artwork

Prompt

Clarify your idea

Direct

Use the playbook

Generate

Cinematic content

From a single prompt
to a more cinematic you.

01Start Here

Before You Generate Anything

Three systems do the work. Set them up once, then reuse them for every piece of content you make.

01

Character Sheet

Locks your identity, wardrobe, and appearance so you look like the same person in every render.

02

Environment Reference

Locks your world — lighting, mood, and branded setting — before a single frame gets generated.

03

Cinematic Creative Director

Turns a rough idea into a directed, render-ready Seedance 2.5 prompt.

Seedance 2.5 Render

02The Workflow

Six Steps, Start To Render

Work through them in order. Your progress saves on this device.

0 / 7
  1. 00

    One-Time Setup

    Personalize the Cinematic Creative Director prompt: fill in your Brand Personalization Profile — name, brand, offer, audience, brand voice, visual world, color palette, wardrobe philosophy.

    What You NeedThe Creative Director prompt + your brand details

  2. 01

    Write The Concept + Prompt

    Open ChatGPT, paste your personalized Creative Director prompt into a new chat. Give it your rough idea, hook, or topic.

    What You NeedYour rough idea, hook, or topic

  3. 02

    Build Your Character Sheet

    Open a new chat. Upload a selfie and a wardrobe reference photo. Paste the Character Sheet prompt.

    What You NeedIdentity photo + wardrobe reference

  4. 03

    Build Your Environment Reference

    Same chat. Paste the Environment Reference prompt. Upload inspiration images if you have them.

    What You NeedBrand colors, environment type, mood

  5. 04

    Set Up Your Render

    Log into Higgsfield → Video → select the Seedance 2.5 model → set your options (aspect ratio, duration, resolution).

    What You NeedA Higgsfield account

  6. 05

    Upload Your References

    Upload your three assets into the prompt box, labeled so the model knows what each one controls.

    What You NeedCharacter sheet, environment reference, voice sample

  7. 06

    Render

    Paste the final Seedance 2.5 prompt from Step 1. Render.

03Prompt Library · Module 01

Character Sheet Prompt

Builds one clean reference sheet that locks your face, hair, body proportions, and wardrobe.

Use This When…You are creating your identity reference for the first time, or you want a new outfit locked in.

What You Need

  • A clear identity photo or selfie
  • A wardrobe reference image
  • Your desired outfit details
  • A new AI chat

How To Use It

  1. 01Open a new AI chat.
  2. 02Upload your identity photo as Reference Image 1.
  3. 03Upload your wardrobe photo as Reference Image 2.
  4. 04Paste the full prompt below.
  5. 05Save the result as your character sheet — this becomes @image1.

[ LIKE THIS ]Personalize this

Use Reference Image 1 as the PRIMARY AND ABSOLUTE IDENTITY REFERENCE. The woman in Reference Image 1 must remain the exact same person throughout every panel. Create a high-fidelity photographic character reference sheet featuring the woman from Reference Image 1 wearing the outfit shown in Reference Image 2. IDENTITY PRESERVATION — HIGHEST PRIORITY Preserve her identity with maximum possible accuracy. Do not redesign, reinterpret, beautify, idealize, age, de-age, slim, enlarge, reshape, or stylize her appearance. Maintain the exact visual characteristics visible in Reference Image 1, including: - exact facial structure - face width and length - forehead shape - natural hairline - eyebrow placement, thickness, shape, and arch - exact eye shape, spacing, size, eyelids, and natural asymmetry - exact nose bridge, nostril width, tip shape, and proportions - exact cheek structure - exact lips, lip proportions, cupid's bow, and mouth width - exact jawline - exact chin shape - exact ears where visible - exact skin tone and undertone - authentic skin texture - natural facial proportions - natural facial asymmetry - exact apparent age - exact body proportions - shoulder width - bust proportions - waist - hips - thighs - legs - arm proportions - overall height-to-body relationship Do not substitute a similar-looking woman. Every view must clearly depict the same woman, not variations of her. HAIR LOCK Reproduce her hair exactly as shown in Reference Image 1: - same color - same curl pattern - same density - same volume - same length - same part - same hairline - same framing around the face Do not straighten, loosen, tighten, shorten, lengthen, recolor, or restyle the hair unless required only where naturally affected by the wardrobe. FACE ACCURACY Her face is the most important element. The front-facing portrait and front close-up should look as though they were additional photographs taken during the exact same photoshoot as Reference Image 1. Preserve identifiable micro-features rather than creating a generic attractive face. Do not create: - a narrower nose - larger eyes - fuller lips - smaller forehead - sharper jaw - lighter or darker skin - altered cheekbones - different eyebrows - different makeup - different facial proportions WARDROBE Use Reference Image 2 ONLY as the wardrobe and styling reference. Recreate the outfit faithfully, including: [INSERT OUTFIT DETAILS OR WRITE: "Match all clothing, shoes, jewelry, accessories, textures, colors, proportions, and styling shown in Reference Image 2."] The wardrobe must conform naturally to her actual body type. Do not modify her body to fit the clothing. CHARACTER SHEET LAYOUT Create a professional photographic character reference sheet on a clean, seamless light gray studio background. Arrange the sheet in a clean editorial grid with these labeled views: FRONT VIEW Full-body, straight-on, neutral standing position. Camera at approximately waist/chest height. Accurate proportions from head to toe. SIDE VIEW Full-body 90-degree profile. Maintain the same body proportions, face profile, hair volume, outfit, and footwear. BACK VIEW Full-body directly from behind. Accurate hairstyle, body proportions, clothing construction, and footwear. FRONT CLOSE-UP Head-and-shoulders beauty portrait. This panel must have the highest facial likeness possible to Reference Image 1. Direct gaze, neutral/confident expression. TOP-DOWN VIEW Photographed vertically from directly overhead while the subject naturally looks slightly upward. Maintain recognizable facial structure and body proportions without fisheye distortion. DETAIL SWATCHES Along the bottom, include clean photographic detail crops labeled appropriately, such as: - FACE DETAIL - HAIR TEXTURE - SKIN TONE - EYE / BROW DETAIL - OUTFIT FABRIC - BOTTOM DETAIL - SHOES - ACCESSORIES Use actual photographic crops or faithful close-up recreations from the character. PHOTOGRAPHIC STYLE Real photography only. Not illustration. Not CGI. Not 3D. Not digital art. Not a fashion sketch. Ultra-photorealistic professional studio photography. Natural dimensional skin. Real pores and subtle texture. Natural highlight roll-off. Realistic hair strands. Accurate fabric texture. Realistic anatomy. Shot with the visual character of a professional full-frame camera and 35mm lens. Soft natural studio lighting. Subtle cinematic contrast. Fine 35mm film grain. Sharp eyes and facial details. Natural depth. High dynamic range. Editorial fashion photography quality. CONSISTENCY RULE Treat this as one real woman photographed simultaneously by multiple cameras. Identity, face, skin tone, makeup, hair, body proportions, wardrobe, accessories, and age must remain identical across every panel. There should be zero character drift between views. DO NOT Do not change ethnicity or skin tone. Do not alter body size. Do not slim the waist. Do not enlarge hips or bust. Do not lengthen legs. Do not smooth skin into plastic. Do not change facial proportions. Do not make the subject younger or older. Do not create a different woman in side or back views. Do not introduce different hairstyles between panels. Do not use exaggerated posing. Do not use wide-angle distortion. Do not crop off hands, feet, shoes, or hair. Do not add unrelated accessories. Do not change the wardrobe colors.
04Prompt Library · Module 02

Environment Reference Prompt

Builds the branded room your content lives in — set design, palette, lighting, signage.

Use This When…You need a consistent, camera-ready setting before you render — or you are introducing a new environment for a campaign.

What You Need

  • Your brand colors
  • Your environment type
  • Your mood and aesthetic words
  • Furniture and set direction
  • Your brand or offer name
  • Inspiration images (optional)

[ LIKE THIS ]Personalize this

Create a high-resolution vertical 9:16 environment reference image for a cinematic video project. This image is an ENVIRONMENT REFERENCE ONLY. No people in the image. No character in the frame. No action. No storytelling moment. The purpose is to establish the branded physical environment that will later be used as a visual reference for a realistic video. PROJECT PURPOSE Create a clean, realistic, premium branded environment for a video about [INSERT TOPIC / OFFER / MESSAGE]. The environment should feel appropriate for a brand that helps [INSERT TARGET AUDIENCE]. The tone should communicate [INSERT 3–5 WORDS: e.g. warmth, authority, elegance, trust, femininity, modern clarity, relatability]. ENVIRONMENT TYPE Design a [INSERT ENVIRONMENT TYPE: e.g. interview set, office, studio, lounge, consultation room, home office, podcast corner, beauty studio, creative workspace, educational set]. The space should feel like a real physical location, not a fantasy room. VISUAL STYLE Overall aesthetic: [INSERT AESTHETIC: e.g. feminine luxury, modern editorial, minimal and clean, soft professional, upscale and approachable, sophisticated and warm]. Keep the styling intentional, polished, and brand-aligned. The environment should feel camera-ready and professionally designed, but still believable and usable in real life. COLOR PALETTE Use the brand color palette as the foundation: - Primary color: [INSERT] - Secondary color: [INSERT] - Accent color: [INSERT] - Neutral tones: [INSERT] Use the palette with restraint and sophistication. Do not oversaturate the room. Keep skin-friendly lighting and camera-friendly color balance in mind. If using pink, blue, green, or other bold hues, keep them refined rather than neon. BRANDING Include [INSERT BRAND / OFFER NAME] branding naturally somewhere in the environment. Branding should feel integrated into the set design, not pasted on. Examples may include: - framed sign on wall - acrylic desk sign - bookshelf styling - subtle branded object - tasteful wall art - elegant plaque Brand wording to include: "[INSERT EXACT BRAND / OFFER NAME]" If additional text is included, keep it minimal, elegant, and believable. SET DESIGN / FURNITURE Include a visually strong focal area where the subject would speak on camera. Design around [INSERT MAIN FURNITURE PIECE: e.g. armchair, desk, sofa, standing zone, bistro table, vanity, podcast chairs]. Add supporting furnishings and decor such as [INSERT OPTIONS: e.g. side table, bookshelf, cabinet, lamp, plant, framed art, flowers, books, branded sign, rug, curtains, lighting fixture]. Everything should feel cohesive, intentional, and uncluttered. LAYOUT FOR VIDEO USE This set must work well for Seedance 2.5 video generation. Create a composition that supports: - close-up shots - medium shots - slight angle changes - seated or standing delivery - clear subject placement - visual depth behind the subject The environment should have a clear area where a person could realistically sit or stand and deliver lines to camera. CAMERA-FRIENDLY COMPOSITION Compose the room like a professional interior/editorial photo. Vertical 9:16 framing. Balanced composition. Strong central or slightly off-center focal point. Good negative space around the speaking area. Depth and layering in foreground / midground / background. Visually interesting but not busy. The set should look beautiful from multiple nearby camera angles. LIGHTING Soft, flattering, cinematic lighting. Warm and natural. Professional interior lighting with realistic practicals. Use a soft key-light feel with gentle ambient fill. Subtle highlights on metallic accents if appropriate. No harsh flash. No blown highlights. No dark muddy shadows. The room should feel bright enough for filming while still soft and dimensional. REALISM Ultra-realistic live-action photography look. Real materials. Real textures. Real furniture proportions. Real architectural details. Believable scale. Believable styling. No surreal shapes. No fantasy elements. No cartoon look. No CGI look. No 3D-render feel. No hyper-glossy fake AI aesthetic. MATERIALS / TEXTURE Show realistic material detail such as [INSERT: velvet, boucle, marble, wood, brass, linen, matte paint, glass, ceramic, soft upholstery]. Textures should feel tactile and elevated. MOOD The environment should feel: [INSERT MOOD WORDS: e.g. welcoming, grounded, elegant, trustworthy, feminine, elevated, calm, modern, inspiring, polished, warm]. It should immediately communicate the emotional world of the brand. DO NOT Do not include people. Do not include distorted furniture. Do not clutter the scene. Do not overfill the space with props. Do not create chaotic styling. Do not use exaggerated fantasy architecture. Do not include random unreadable text everywhere. Do not make the room look like a fake showroom. Do not create bad AI artifacts. Do not add floating objects. Do not warp the walls, flooring, decor, or furniture. Do not create inconsistent lighting. Do not create a stage-like event backdrop unless explicitly requested. FINAL RESULT Generate one polished, beautiful, high-resolution branded environment reference image that looks like a real interior set designed for filming a premium cinematic talking video.
05Master System · Module 03

Cinematic AI Creative Director + Seedance 2.5 Master Prompt

The full directing system. It diagnoses your idea, directs it, writes the script, and hands you a complete standalone Seedance 2.5 prompt.

Personalize OnceUse Repeatedly

Use This When…You have a rough idea, hook, or topic and need a directed, render-ready prompt.

Personalize This Once

Once you customize and save your Creative Director prompt, you can reuse it for future content.

0 / 20

[ LIKE THIS ]Personalize this

You are my dedicated CINEMATIC AI CREATIVE DIRECTOR, FILM DIRECTOR, PERFORMANCE DIRECTOR, AND SEEDANCE 2.5 PROMPT ENGINEER FOR HIGGSFIELD AI. You are not a generic AI prompt writer. Your job is to help me conceptualize and produce world-class, photorealistic cinematic AI videos that look like professionally directed branded entertainment—not obvious AI videos. You are working for the following brand and must treat this profile as the strategic and creative source of truth.
06References

Label Your References Correctly

Each reference has one job. Label them so the model knows exactly what each one controls.

@image1

Character Sheet

Identity Lock

@image2

Environment

Setting Lock

@audio1

Voice Sample

Voice Lock

Use the reference tokens exactly as supplied. Never assign one person's voice reference to another character.

07Render Checklist

Before You Hit Render

Run this list inside Higgsfield. Your progress saves on this device.

Ready To Render
0 / 16
08Quick Reference

The Numbers, At A Glance

Dialogue Length

15 sec
approximately 30–40 words
20 sec
approximately 40–55 words
30 sec
approximately 65–80 words

Unless the supplied voice reference clearly speaks faster or slower.

Shot Count

15 sec
approximately 3–5 meaningful shots
20 sec
approximately 4–6 meaningful shots
30 sec
approximately 5–8 meaningful shots

Break these ranges only when rapid montage is strategically necessary.

Lens Grammar

24–35mm
environment, geography, scale, movement
50mm
natural dialogue, medium framing
65–85mm
close-ups, reactions, authority moments

Coverage with clear editorial intention.

Reference Convention

@image1
primary identity
@image2
environment
@image3
wardrobe / style
@audio1
primary speaker voice

Your actual mapping always overrides the recommended convention.

09Protect The Render

Bad AI Guardrails

Name the failures most likely to happen in your actual scene, and tell the model to prevent them.

Identity

  • face drift
  • age shift
  • hair change
  • body morphing

Anatomy

  • extra limbs
  • broken hands
  • fused fingers
  • sliding feet

Environment

  • warped architecture
  • changing furniture
  • objects appearing
  • incorrect scale

Text

  • logo mutation
  • misspelled signage
  • unnecessary generated text

Audio

  • wrong voice
  • broken lip sync
  • characters inheriting dialogue

Camera

  • random movement
  • floating camera
  • unmotivated zooms
10Production Principles

How To Direct It

  1. 01

    Story Before Spectacle

    Every camera angle and cut must have a job: establish context, reveal information, support dialogue, show evidence, capture a reaction, redirect attention, or land an emotional turn.

  2. 02

    Characters Should Feel Observed, Not Animated

    Direct observable behavior instead of abstract emotion. Emotion should emerge through restraint.

  3. 03

    Technology Should Disappear Behind The Idea

    The technology should disappear behind the idea, story, brand, and performance — not become a technology demonstration.

  4. 04

    Identity Continuity Before Cinematic Experimentation

    When a real person's identity reference is supplied, prioritize identity continuity above cinematic creativity.

  5. 05

    Simplify High-Risk Hand Actions

    Hands are a high-risk production variable. If the story does not require a hand interaction, simplify it.

  6. 06

    Every Shot Must Have A Job

    Do not create more shots than the duration can support. Break the ranges only when rapid montage is strategically necessary.

  7. 07

    The First 1–3 Seconds Matter

    The first one to three seconds determine whether the viewer stays. There must be no accidental dead air, empty setup, neutral waiting, or visually inactive opening.

Clone → Content → Conversion

You Have The System.
Now Direct The Scene.

Lock your character. Lock your world. Direct the prompt. Render it.

Ri Michelle
The Clone Creator